
The Beginner’s Guide to Substack
Everything you need to know to launch your newsletter in 2025

If you’ve been wanting to start a Substack for a long time but feel overwhelmed by all the options, this guide will take you from zero to having your first post published in less than an hour.
Not only will I guide you through the exact steps to set up your profile and publication, but you’ll also unlock:
A step-by-step checklist
Detailed prompts
And specific templates to get started as quickly as possible
Substack is one of the fastest‑growing platforms for writers, creators, and entrepreneurs right now, and it’s not just for people who already have a big audience.
In this tutorial, you’ll see exactly how to set up your Substack, customize it so it stands out, write and publish your first post, and start using the platform’s built‑in growth tools to attract your first subscribers.
By the end, you won’t just know how to navigate Substack; you’ll know how to use it strategically so you can start building an audience from day one.
What is Substack, really?!
Before we dive into the technical setup, let’s pause for a moment to really understand what Substack is and why it’s such a powerful tool for creators right now.
Substack is not just another newsletter platform.
It’s a publishing hub that combines the best parts of a newsletter, a blog, and a social platform - all in one place.
You can publish long-form posts that go directly to your subscribers’ inboxes, share short, casual updates called Notes that appear in a social feed, and even host interactive discussions through Chat.
The biggest difference compared to most platforms is that you own your audience.
Instead of collecting worthless followers, you are building an email list that is priceless.
Another reason it’s so attractive to creators is the cost: It’s completely free to start on Substack, and the platform only takes a percentage of your earnings if you turn on paid subscriptions.
That means you can get up and running with zero upfront cost, start building your audience, and only pay when you start to make money yourself.
In short, Substack gives you a professional home for your writing, a built-in audience discovery system, and complete control over your subscriber list, all without the usual tech headaches.
Let’s set up your account
When you go to substack.com, you’ll land on a feed of content even if you’re not logged in:

You can browse categories on the top bar, click the Home tab, open articles, and get a feel for what’s trending on the platform right now.
This feed may be biased by past browsing, but that doesn’t matter since you’ll customize your experience as you create your profile anyway.
Click Get Started to create your profile.
Now you’ll be asked to pick topics you’re interested in (or will be writing about):

Based on your choice, Substack will suggest publications to follow. You can subscribe to them right away or skip the recommendation and move on.
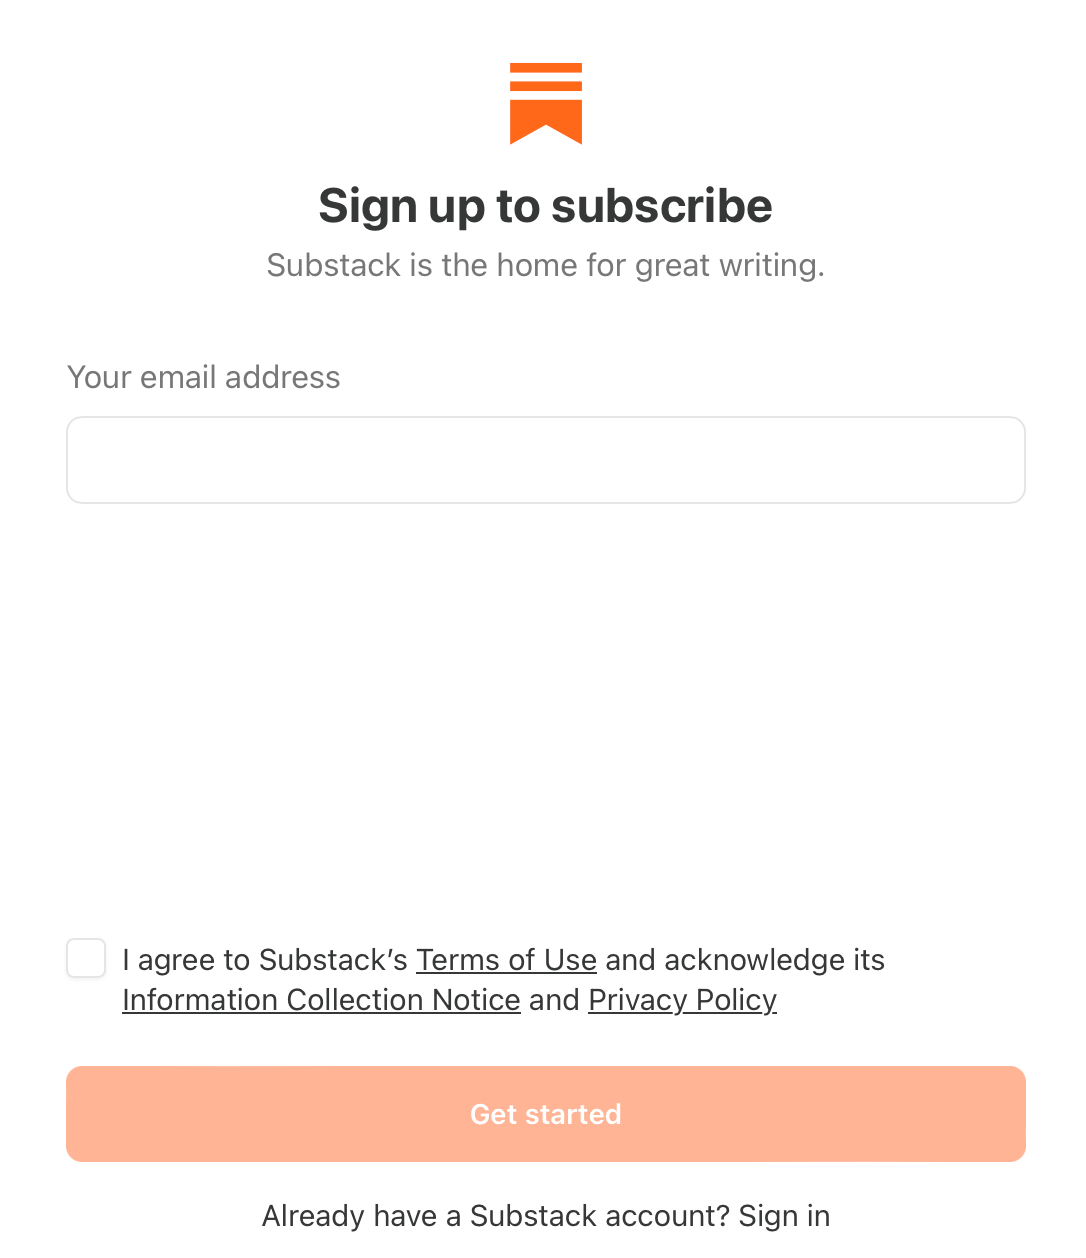
Enter your email address, agree to the terms, and create your account:
Next, you’ll set up your profile.
This is the identity under which you publish and interact: commenting, messaging, and posting.
For reference, here’s what my profile looks like:
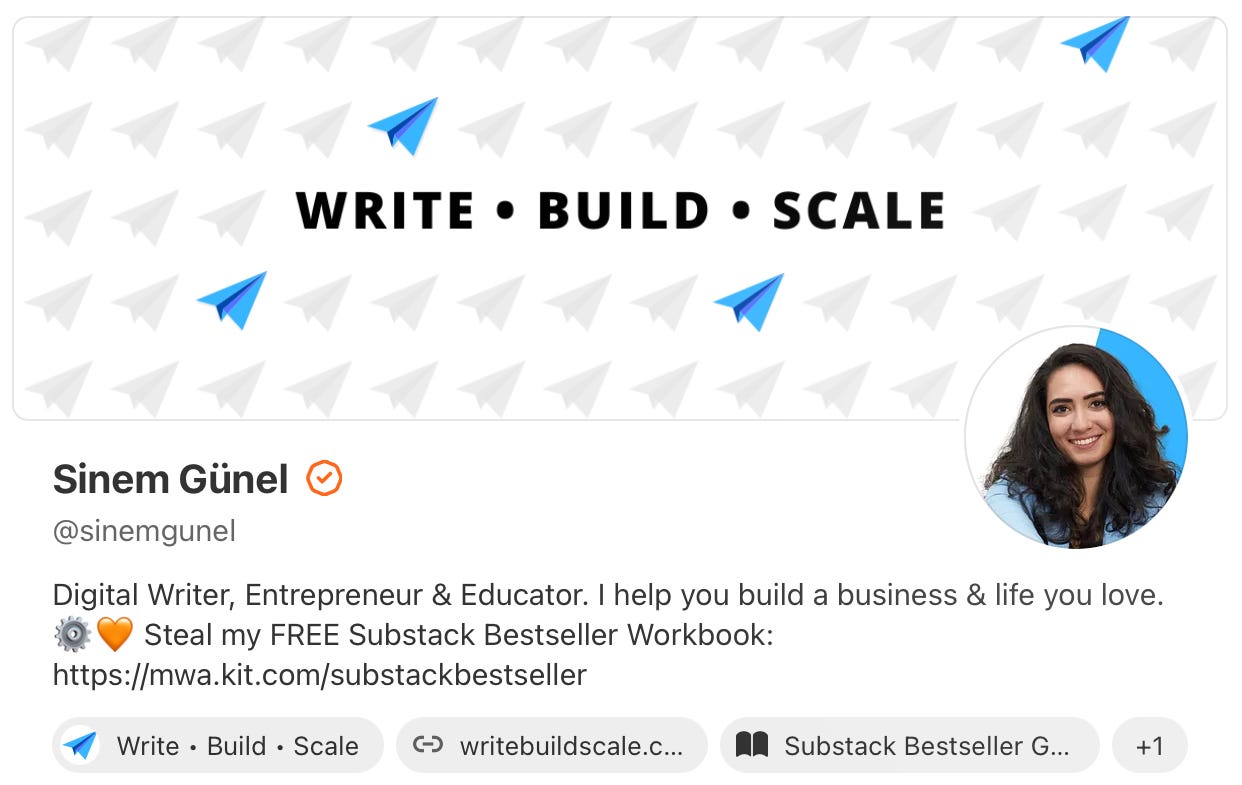
On your profile, you want to:
Use a clear headshot (not a logo)
Your actual name as your display name (a pen name is fine too)
A concise handle (like @sinemgunel)
And a short bio that explains who you are, what you do, and why someone should care about your work
You don't have to get all of this done perfectly right away, and you can always tweak your bio and images in the future. Start with a version that feels good enough to continue.
Once your profile is ready, you’ll already be able to publish Notes and Posts.
The difference between your profile & your publication (and why you want both)
Your profile is you as the author.
Your publication is the home for your writing.
Think of your publication as your “website” on Substack.
On a profile page, readers can scroll your content stream with no end.
On a publication page, your work is organized: you can feature pinned posts, create sections, and add navigation like Notes, Start Here, Become a Member, a Premium Content Library, links to your course or YouTube channel, and an About page.
If the distinction is not clear, make sure to take another closer look at my profile and the Write • Build • Scale publication.
This should give you a clear idea of how those different assets are used on the platform.
This distinction is important because I see a lot of new writers using the same image on both their profile and their publication, or even using their publication name on their profile page as well.
This makes it incredibly hard for readers to navigate your content because your spaces are becoming confusing.
Publish your very first post
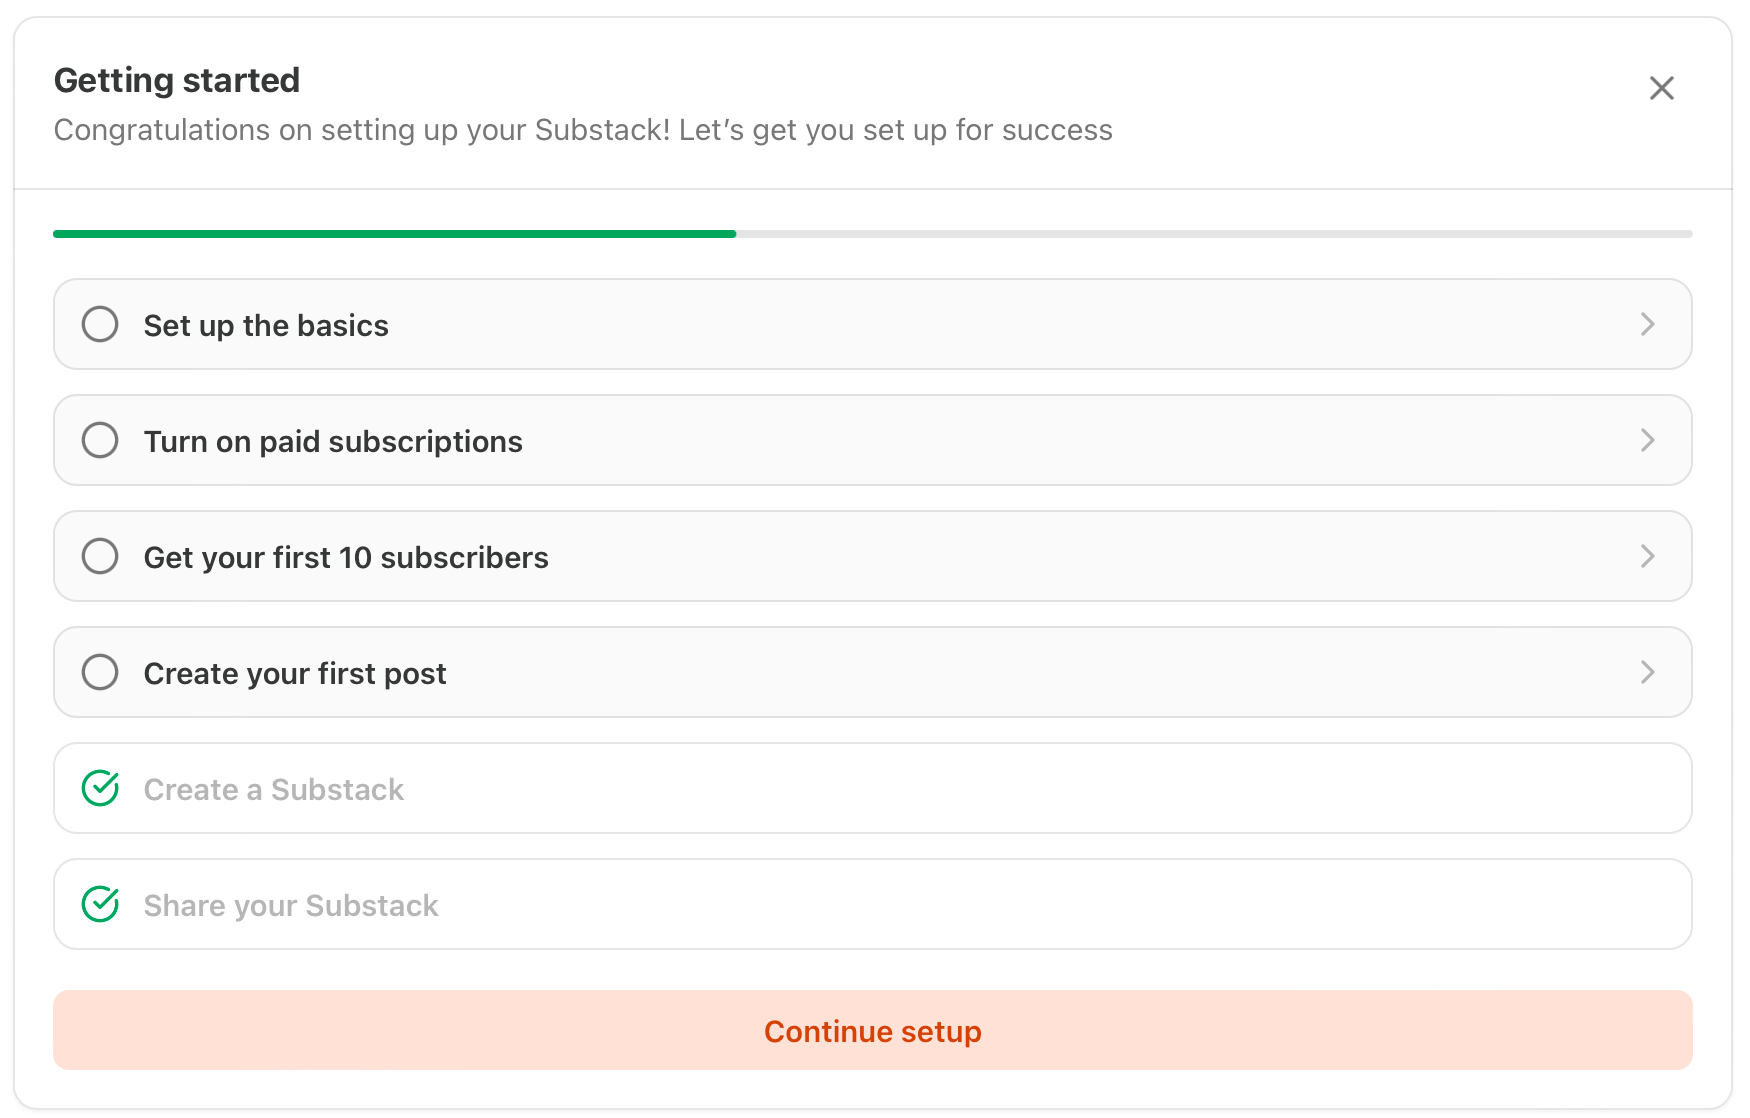
Even though your publication plays a major role on Substack, you can already publish your first piece without even setting up your publication in the first place.
I would only recommend doing this if you don't have any intentions of writing regularly and you only have the desire to put a piece of writing out there as quickly as possible without any intentions of building a business, an audience, or an income stream.
When you open the Substack Editor, you'll see that you have plenty of editing options, yet it's still limited enough to ensure that you can easily create a positive user experience for the reader.
If you've never used the editor before, scroll up to the video version of this piece to check out the screen recording where I guide you through different formatting options on the Substack Editor.
The editor is intentionally simple and powerful. You can:
Format text: headings, bold, italics, links, and strikethrough.
Add media: images, audio, and video.
Use rich blocks: block quotes, pull quotes, bulleted or numbered lists, buttons, code blocks, and dividers.
When you’re done, you can publish your piece right away. If you don’t have subscribers yet, it’ll still live on your profile with a shareable URL.
Create your publication (your content hub)
From your profile, you can access the Publisher dashboard to set up your publication.
Now you’ll be asked to decide on the basics of your publication:
Choose a publication name that’s simple, clear, and memorable. Your title should hint at the value you provide through your work.
Add a short description to clarify why someone should pay attention to your publication.
Upload a publication logo that’s different from your profile photo to avoid confusing new readers. (I recommend using Canva to design a simple logo if you don’t have one yet.)
You’ll also have the option to turn on paid subscriptions by connecting Stripe. Skip this for now and revisit it later when you’re ready for it.
Substack makes it easy to get your first subscribers by inviting individuals directly through email and importing an existing list. So if you have any existing subscribers, friends, or family members who want to stay up-to-date on your work, you can directly add them to your list at this stage.
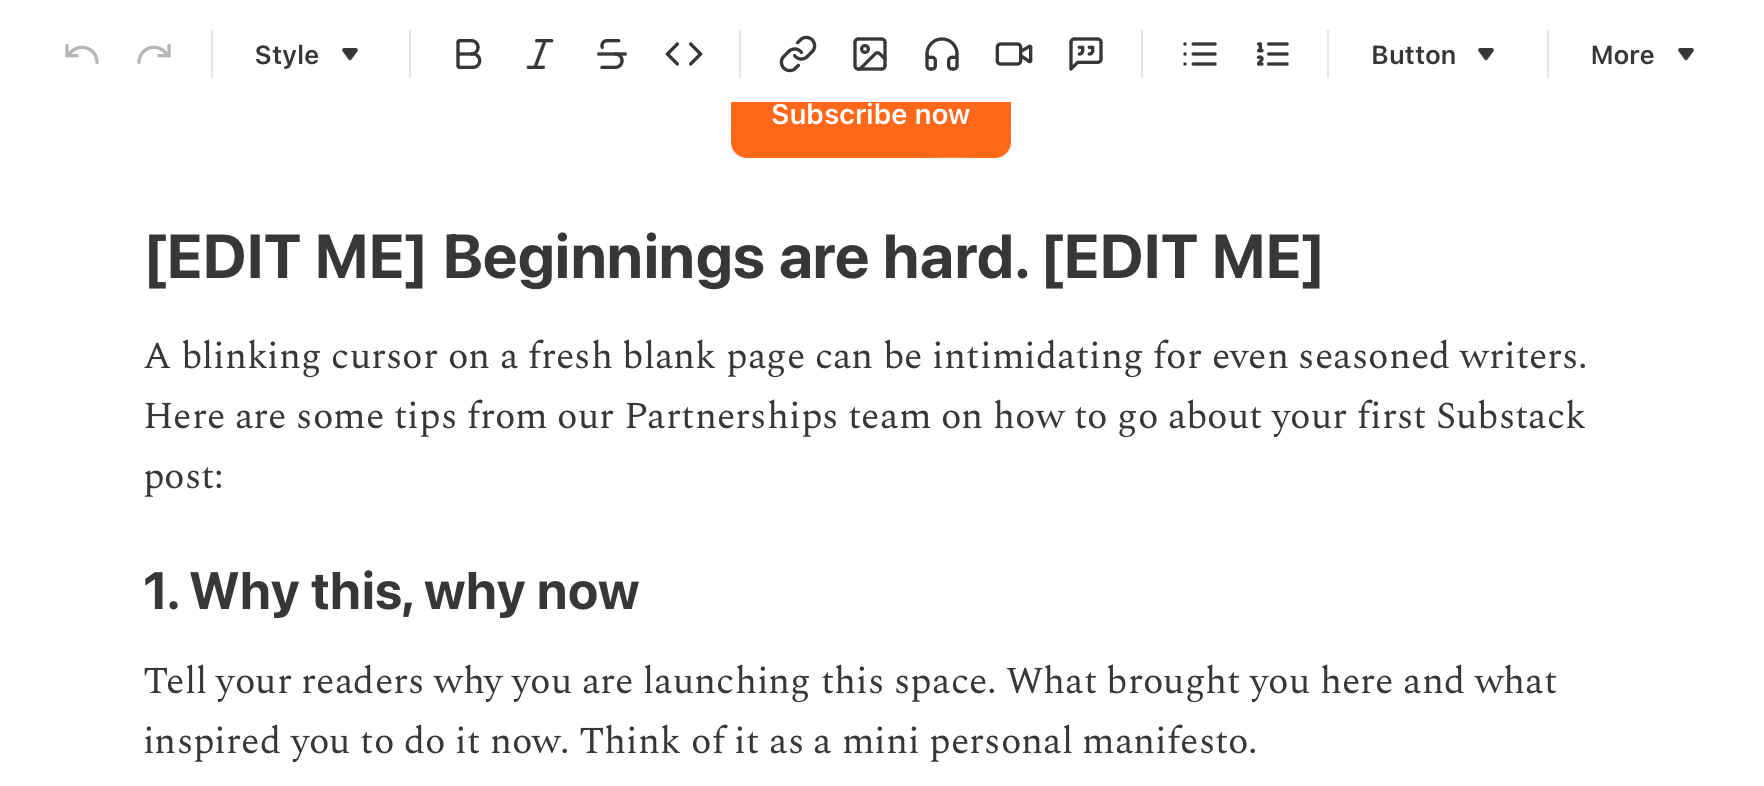
Next, Substack will encourage you to create your first publication post. The editor will even give you a starter prompt and show how a subscribe button might look. This is a great place to set expectations, explain who your publication is for, and invite readers to subscribe:
When you return to your profile after setting up your publication, you’ll now see your publication listed there: proof you’ve set it up correctly!
Use Substack’s built‑in growth tools
Once you've set up your publication and profile, the real work begins.
Now you have to actually create quality content and put it in front of the right people to increase your chances of being seen by readers who actually want to subscribe and learn more about your work.
You already know that you can write long-form posts that will go out to your subscribers. But what if you don't have any subscribers yet?!
Well, in that case, you can leverage these three built-in tools:
Notes are short, casual updates in the social feed. They’re one of the fastest ways to get noticed by people who don’t know you yet.
Recommendations help you get seen by the right audience. You recommend other publications; they recommend you. This cross‑promotion brings in a steady stream of qualified readers who might never have found you otherwise.
Chat is a great opportunity to start and deepen conversations. Tap into other creators’ communities if you don’t have your own chat yet.
When we launched Write • Build • Scale, we primarily relied on these three tools, and they made all the difference in our growth.
Don’t make *these* beginner mistakes
Before you go into action mode and start building your publication, let me remind you of the most common mistakes Substack newbies make and how you can avoid them:
Posting only “once in a while.” Inconsistency makes it hard for readers to remember you. You don't have to publish every single day in order to be relevant, but you do have to make a promise to your readers and stick to it.
Ignoring Notes. If you skip Notes, you’re skipping one of the best discovery tools on Substack right now. And the good news is that being active on Notes can be incredibly simple. You can literally take snippets from your short-form and long-form posts and use them as Substack notes.
No clear promise. If your publication description and About page don’t spell out the value, people won’t subscribe.
Doing it alone. Substack’s collaboration features exist for a reason. Connect with peers, team up, and use recommendations. It’s the most underrated growth lever on the platform.
Don’t expect instant results. A loyal audience isn’t built overnight. Show up consistently, use the internal tools, and let compounding work in your favor.
Let’s take action & grow YOUR Substack!
Now that we've got the basics covered, it's time to put things into action and start growing.
Below, you'll find a variety of resources that will help you navigate through the essential steps that we've discussed above.
These resources are only available to paid members. If you’re not a member yet, you can upgrade your subscription here.
Here’s what you’ll find below:
✅ A step-by-step Substack Checklist to ensure you’re set up for success on the platform.
🤖 A detailed AI Prompt Pack to help you with the naming, niching, and positioning of your publication.
📝 Article Templates for your first 3 posts (Start Here, Quick Win & Stand Out Perspective)
Keep reading with a 7-day free trial
Subscribe to Write • Build • Scale to keep reading this post and get 7 days of free access to the full post archives.